
A Beginner’s Guide to Leather Tools

As the nights get darker and the days draw shorter, our creativity awakens to take us through the autumn months.
This is my favourite time of year, the colours changing, the early morning mists rolling over the moors and the final days of harvest. I find my creativity really starts to flow in autumn, and I often stay late in the workshop to draw up new ideas and play with some patterns.
TOOLS GLORIOUS TOOLS
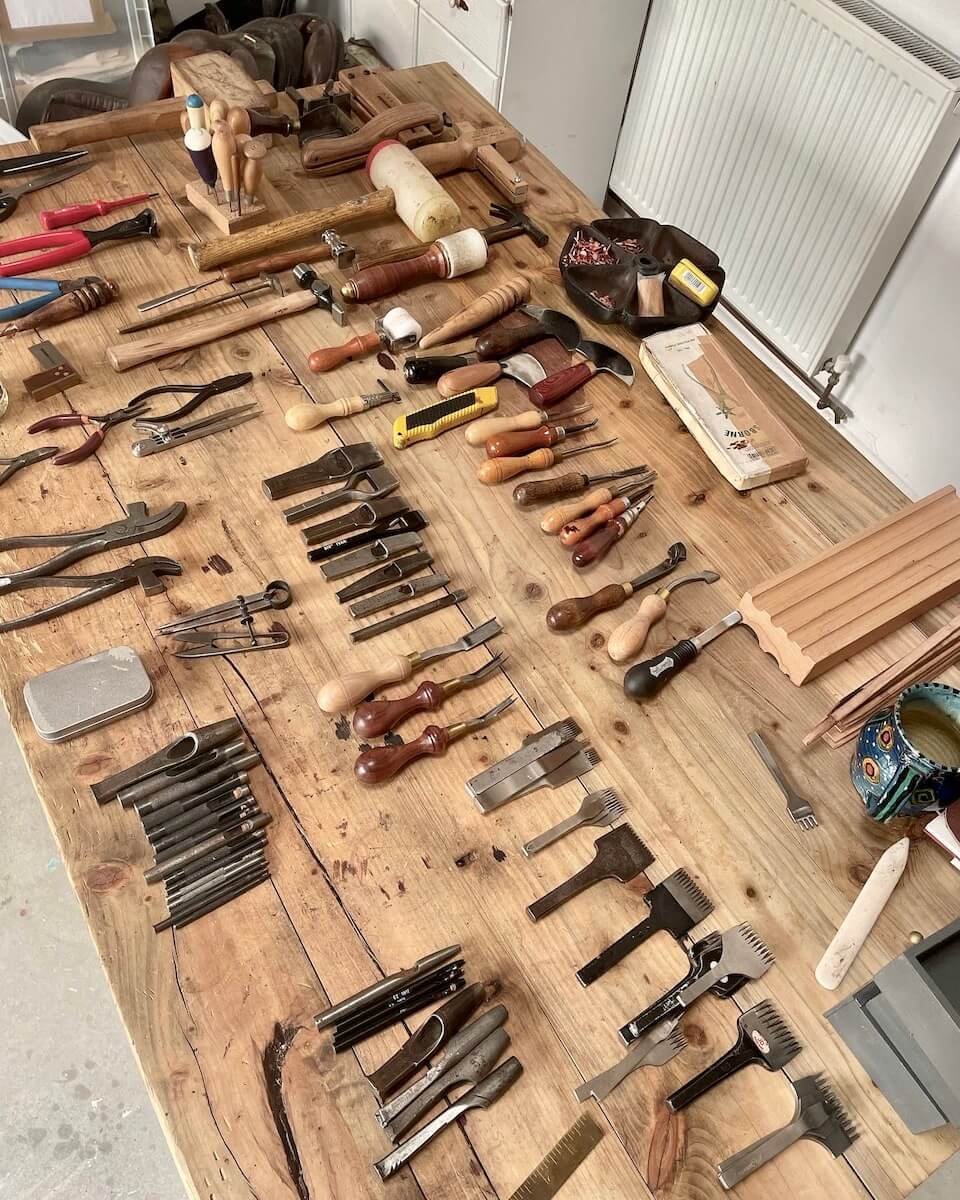
I recently moved in to a new workshop at Kigbeare Studios (you can read more about the move here) which meant having to pack up all my tools and then unpack onto a new tool board. I laid all my tools onto the workbench and was amazed at how much I had acquired over the 9 years of being a leatherworker. Having all these beautiful - and mostly old - tools set out neatly on a table gave me the idea of writing some words each month, words dedicated to the humble little pieces of equipment that allow us leatherworkers to make and create.
“But which tool gets the first spot on this blog”? I hear you say. Well, yes, I struggled with that question too. There is no favourite, they all have an extremely important role to play, and without most I couldn’t create what I make. So, I thought what about the first post being about beginners’ tools and what is needed on the first step of the leatherwork journey.
If you’re new to leathercraft, having the right leather tools from the start makes learning the basics far more enjoyable and helps you build good habits as a leatherworker.
What Leather Tools Do Beginners Actually Need?
START AT THE BEGINNING
You don’t need a huge collection of leather working tools to get started. A small, carefully chosen leather working kit will allow you to make a wide range of projects, from belts and dog collars to bags and small accessories.
For the first year or so of my leather journey I had an awl, a stitch marker (also known as a pricking iron), a hammer, a hole punch, a Stanley knife, wing dividers, a ruler, harness needles, a block of wax and a canvas rag. These simple tools took me from belts to dog collars and from bags to shoes - actually ‘shoe, singular’ is more precise (I made left shoes as I only had one left footed last in which to practice!).
My work was not perfect by any stretch of the imagination but looking back, it was these tools that helped shape me into the leatherworker I am today.
ESSENTIAL LEATHER TOOLS FOR BEGINNERS
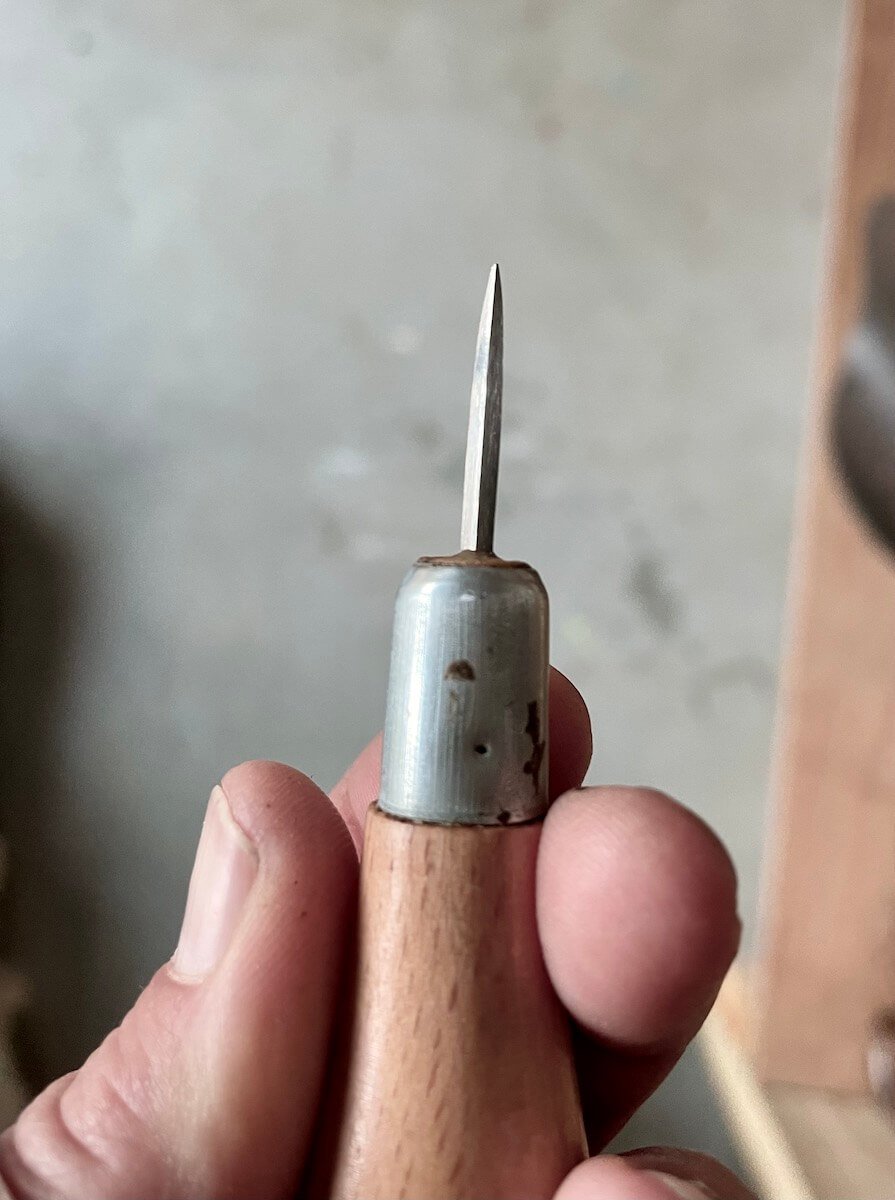
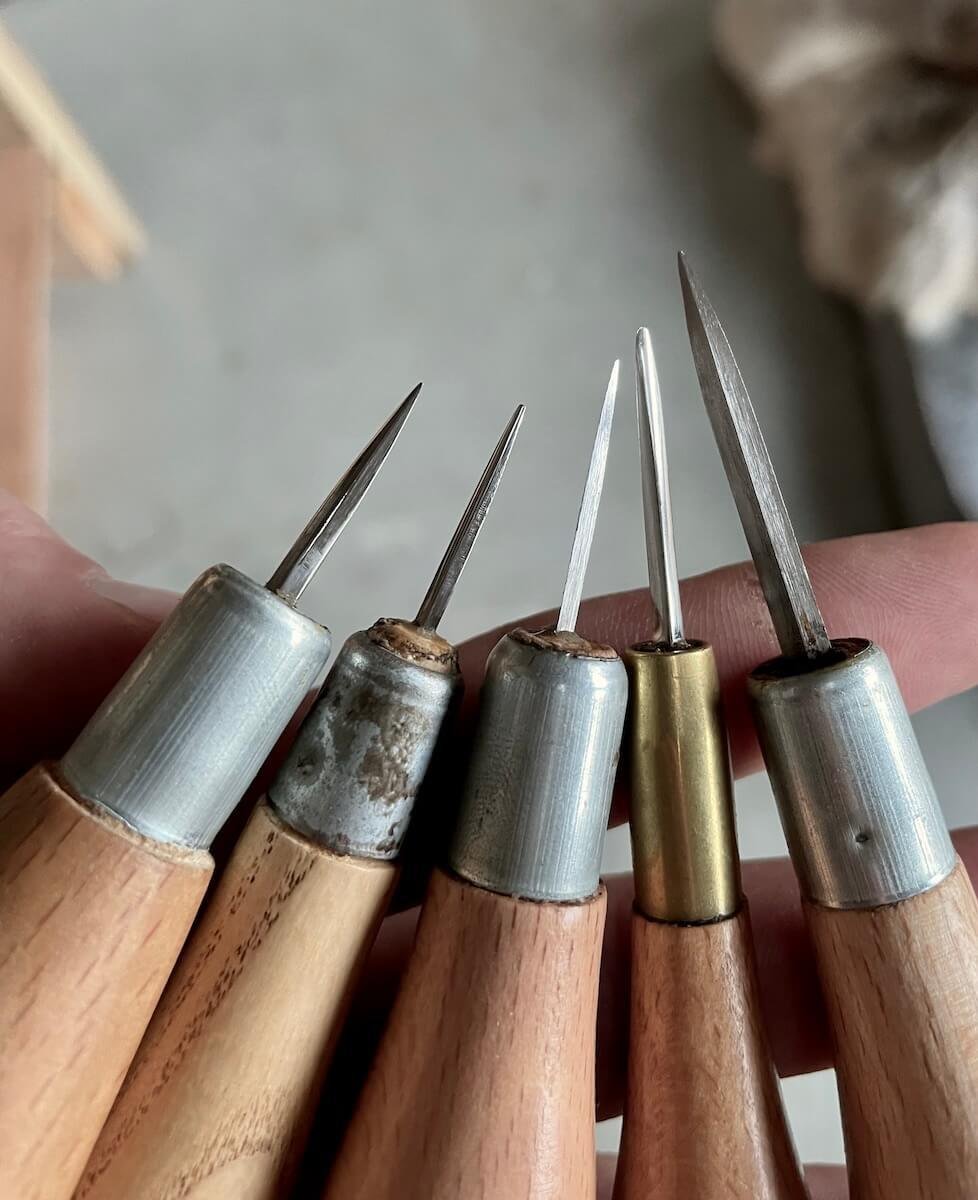
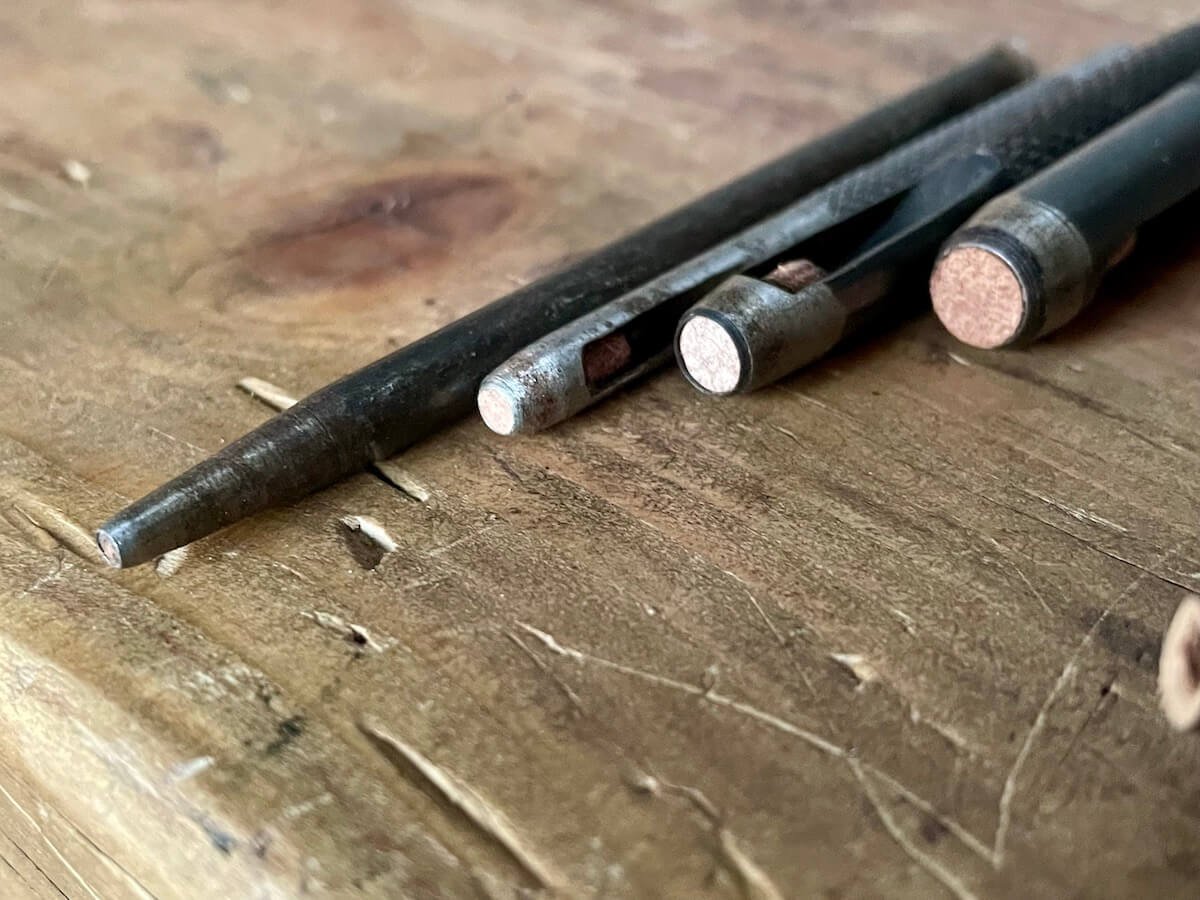
An awl is one of the most important leather stitching tools and a staple on any leatherworker’s bench. I started with two; a scratch awl and a stitching diamond awl. They come in all shapes and sizes and depending on the leather and what stitching size you choose will tell you what awl you need.

A scratch awl does exactly that, it scratches or rather marks the leather. It has a sharp pointed tip allowing you to mark patterns onto the surface of the leather.

The other awl is a diamond awl, use for piercing holes into the leather when hand stitching. The blade is shaped like a diamond, and creates a small ‘x’ like shape into the leather, you pierce the leather with your awl and then insert your needles when stitching.
I started with an Ivan Awl, it comes ready-made, ready sharp and will handle most leathers and most stitching sizes.
Stitch makers, pricking irons, stitching chisels and pricking wheels – they have many names and again, another tool that comes in a wide variety of shapes and sizes. Stitch markers and chisels are essential leather craft tools that help create consistent, professional-looking stitches.
In old money the sizes were in the form of Stitch Per Inch or SPI, meaning how many stitches are in the inch. In new money most irons or markers will come in millimetres, denoting how many mm is in between each stitch. In traditional saddlery or harness work, pricking irons were used, they mark stitch holes on the leather and give a guide as to where to place the hole made by the awl. In more recent times stitch chisels have been created, these actually punch all the way through the leather, in many ways replacing the need to use an awl. Neither is better than the other, but as a beginner chisels are really handy and help to create a really clean stitch. Please note, you DO NOT need to go out and spend hundreds on a stitch marker, you can actually mark and chisel stitch holes with a fork … the budget chisels are brilliant, they will get you going and some very experienced leatherworkers still use their original budget chisels.

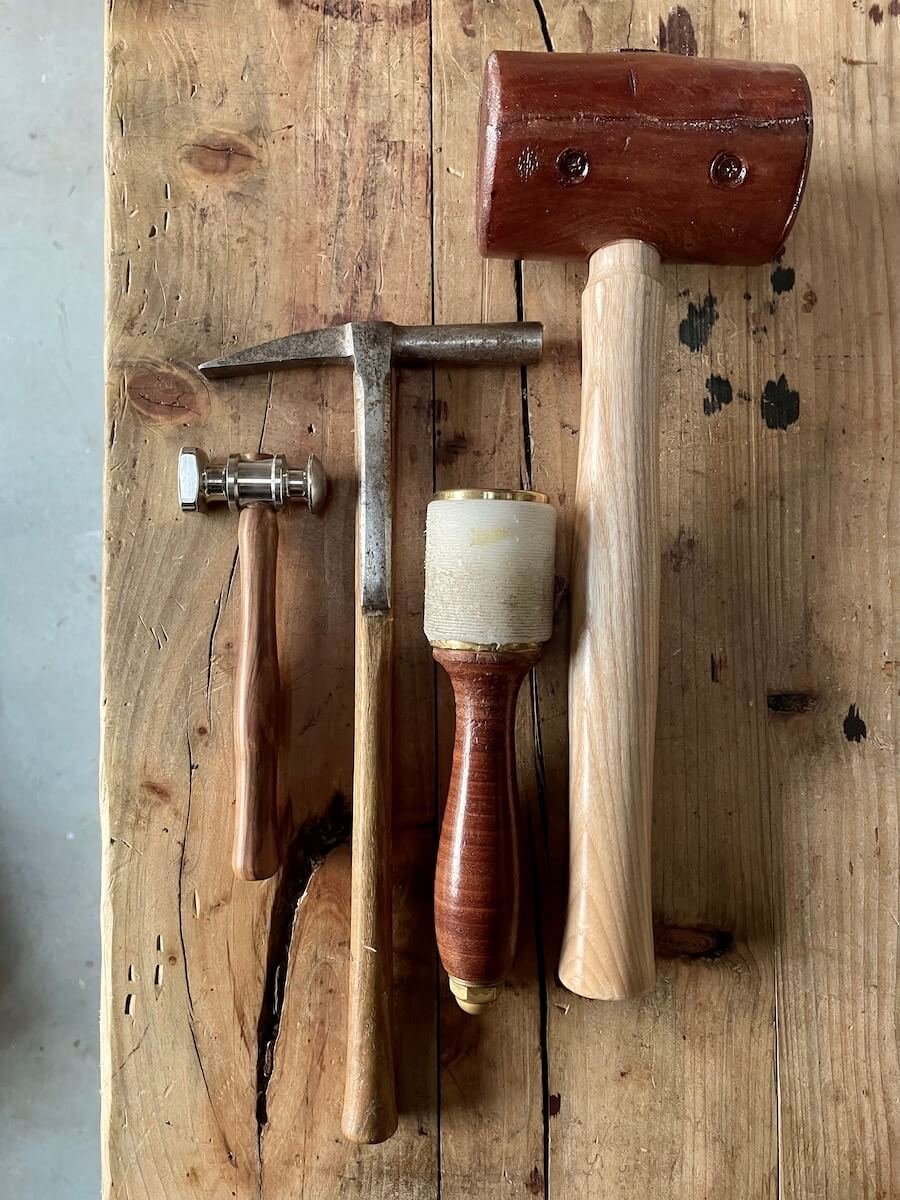
A suitable hammer or maul is another core leather working tool, especially for punching and stitching. most of us will already have a hammer somewhere in the home. I started with a good old hammer from my tool kit, metal headed and used for years to bash things. After a while I upgraded to a raw hide hammer, a nylon maul and a saddler’s hammer. Each hve a variety of uses, and I would recommend buying a nylon or raw hide headed hammer to start – its not so good to hit metal hammers onto metal tools.
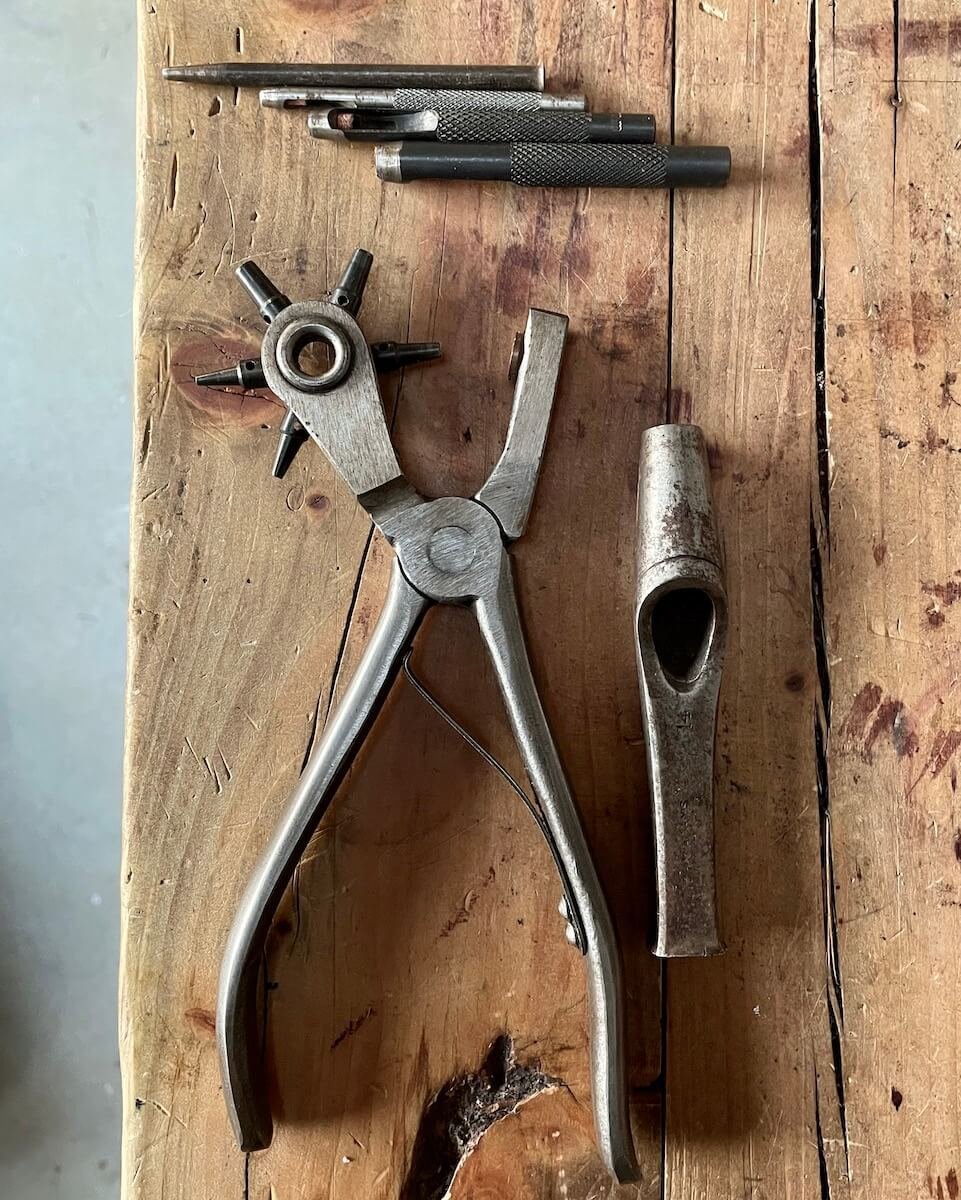
The hole punch is another vital tool. They come in all sizes and you can buy a pack that will have most sizes that you need. I started with an Osborne rotary hole punch, bought for me for my 30th birthday. I know I said above that I don’t have a favourite tool but if I had to choose I think this would be it. It doesn’t have to be a fancy or expensive rotary punch, you can also buy a set of punches that will come in sizes from 1mm to 10mm.
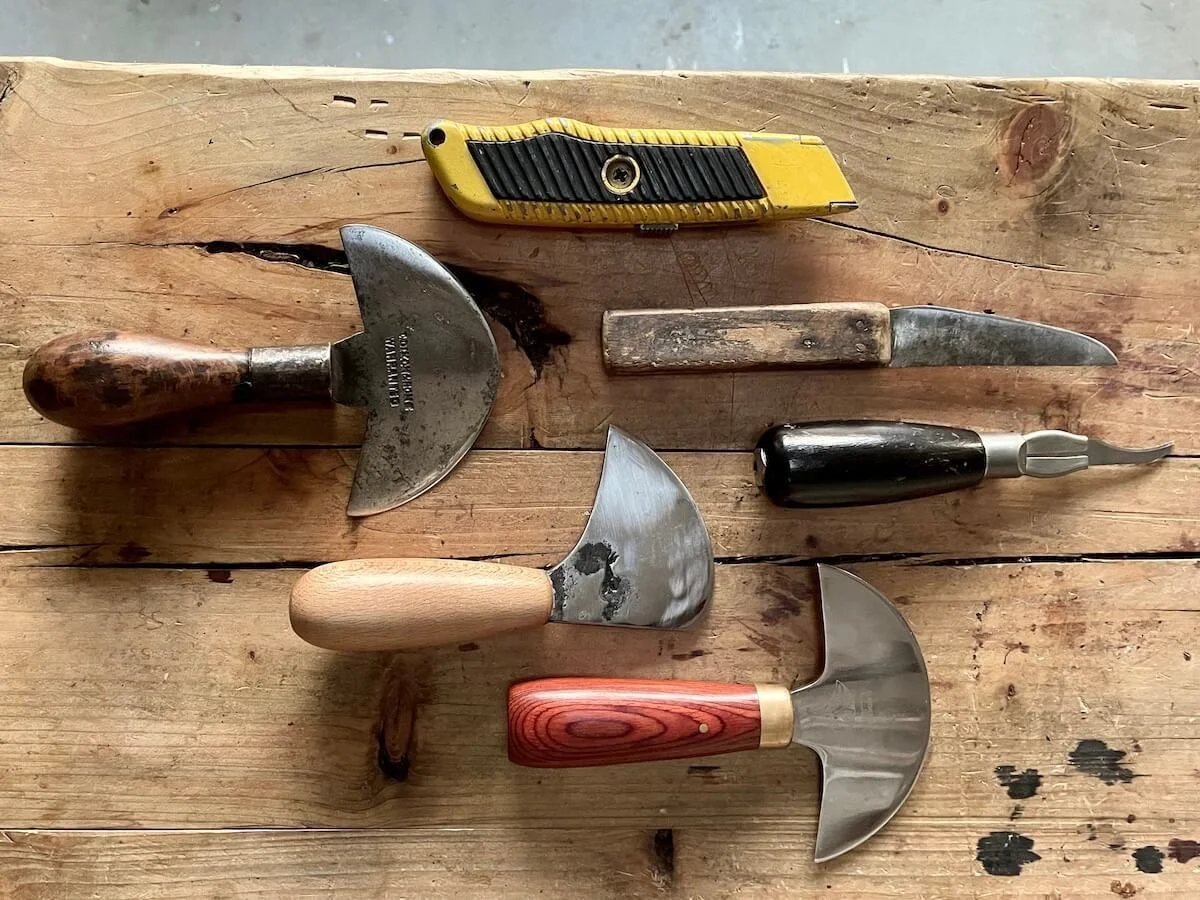
A Stanley blade for cutting out leather, this can also be used to cut straps of leather but after a while you may want to upgrade to a strap cutter – it will half the time you spend trying to cut straight straps! The Stanley blade is so versatile, and I still use a Stanley to this day. After a year or so I upgrade to a head knife and a half round knife but the humble Stanley will keep you going for years.
Wing dividers are used for marking straight lines on leather, mostly for marking stitch lines. They can be set to any distance and I also use these to mark out buckle holes and crew slots. When you get more advanced in your leatherwork you’ll use wing dividers to mark out fancy stitching lines, one of the best things I’ve learnt in saddlery training so far. I used to spend hours making patterns on card, then my master showed me how to do it with wing dividers… Game changer!

Harness needles, much different to normal hand sewing needles. They have a blunt tip which stops the point of the needle piercing the fibres of the leather as you insert it into the hole premade by the awl. If you try sewing with a sharp pointed needle you will quickly realise why harness needles have this blunted end. I use John James harness needles, mostly in a size 002, these are larger in size as I prefer a chunkier stitch but if using a smaller stitch then I use a 004 needle. They come in packs of 25.

Not on the list but rather vital is thread, personally I use linen thread specifically made for hand sewing. There are nylon threads on the market, but I feel that threading plastic through the beautiful natural fibres of leather is a bit criminal, linen thread is also less likely to tear the leather if pulled to tight with tension, plastic thread is extremely sharp and will rip through the fibres of the leather. Each to their own, and you will learn what threads work for you as you practise. I will do a post in the future dedicated to thread.
Thread leads me onto wax, I use bees wax to coat my thread. This gives the thread protection against the elements and fills the sewing holes with wax, waterproofing the fibres of the leather and giving it longevity. Wax is a staple to any leather workers tool box.
Canvas rags I use to burnish the edges of leather, this is not just for aesthetic but also to close the fibres of the edge of the leather to give protection and make your items more durable. If you put a little water on the edge of your cut leather, then rub vigorously with the canvas rag, the heat and friction will tighten and close the fibres making the edge varnished in appearance. You can also run the bees wax on the edge after burnishing to give more protection. There are a variety of burnishing agents on the market, I make my own using water, little birch tar and melted bees wax.

Should Beginners Buy a Leather Working Kit?
WILL THIS BREAK THE BANK?
While leather working kits can seem appealing, many beginners find they don’t use every tool included.
So there you have it.. A beginner guide to the tools you need to start your leather craft journey. If you add up the list above you are looking to spend about £40 to £50. And some may say that will be the best £50 you’ll ever spend!
If you search online for leather working kits, you’ll be overwhelmed with choice. Personally, I wouldn’t recommend these kits, I think after a while you will find you don’t use a lot of what is in them. Instead I would advise to purchase each tool individually, it may cost you a little more but you will have exactly what you need and want. I still have all the original tools I started with, and do I still use them? YES, every day.
If you’re just starting out, choosing the right leather tools for beginners can make all the difference.
If you would like any more information about these tools or any help in choosing your tools then please do get in touch via the contact page and fill out the form or send me an email hello@warrinerleather.co.uk.
For those wanting to really deepen their leather journey you can find more information about my leather working workshops here. These courses are for beginners and experience leatherworkers alike, I will teach you the foundations and skills to take you further in to leather work.
Until the next time
Warmest wishes
Katy